How to: Create-your-Own Unicorn Onesie
Posted on: 24/01/2018
How to: Create-your-Own Unicorn Onesie
Create the Unicorn Onesie you wish existed...

Step 1: Head to our Personalised Onesie Builder.

Step 2: Who are you creating a Onesie for?
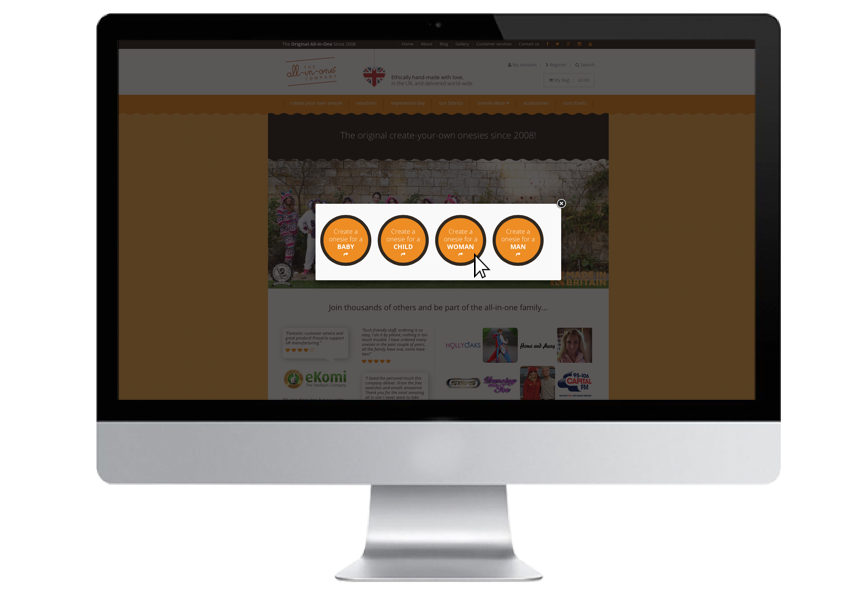
Once you’ve selected ‘Start creating your bespoke onesie’ you’ll then be asked to select who you’re creating the onesie for, be it a baby, a child, a woman, or a man. Simply select the button that applies to you, or the lucky person you’re designing a onesie for!
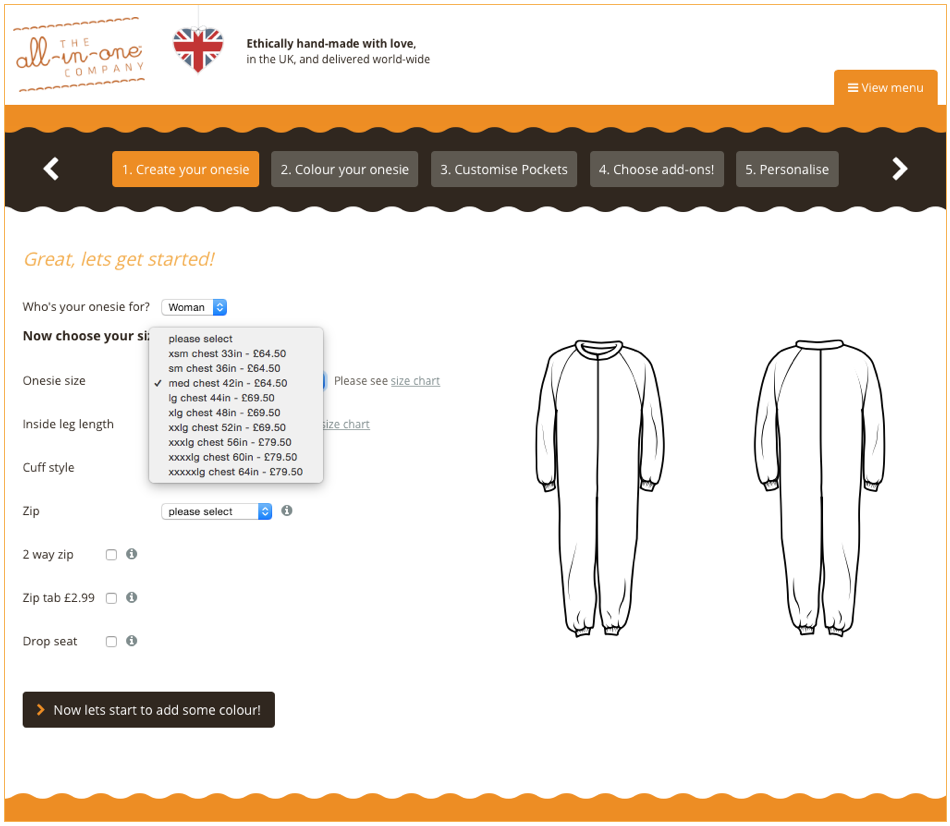
Step 3: Choose your Size
Once you've chosen who you're creating a onesie for, it's then time to choose your size. From 0-3 months to Mens 5 XL, there really is a Onesie for everyone. If you need a little help in choosing the correct size you can always look at our Size Charts. The measurements shown on our size charts are measurements of the person and not the finished onesie. We also offer a Made to Measure Service. As each and every onesie is handmade to order, if you would like to let us know any specific measurements, or have any special design requirements, you can let us know by adding them into the order instructions box at the checkout (Don’t worry, we’ll get to this later).
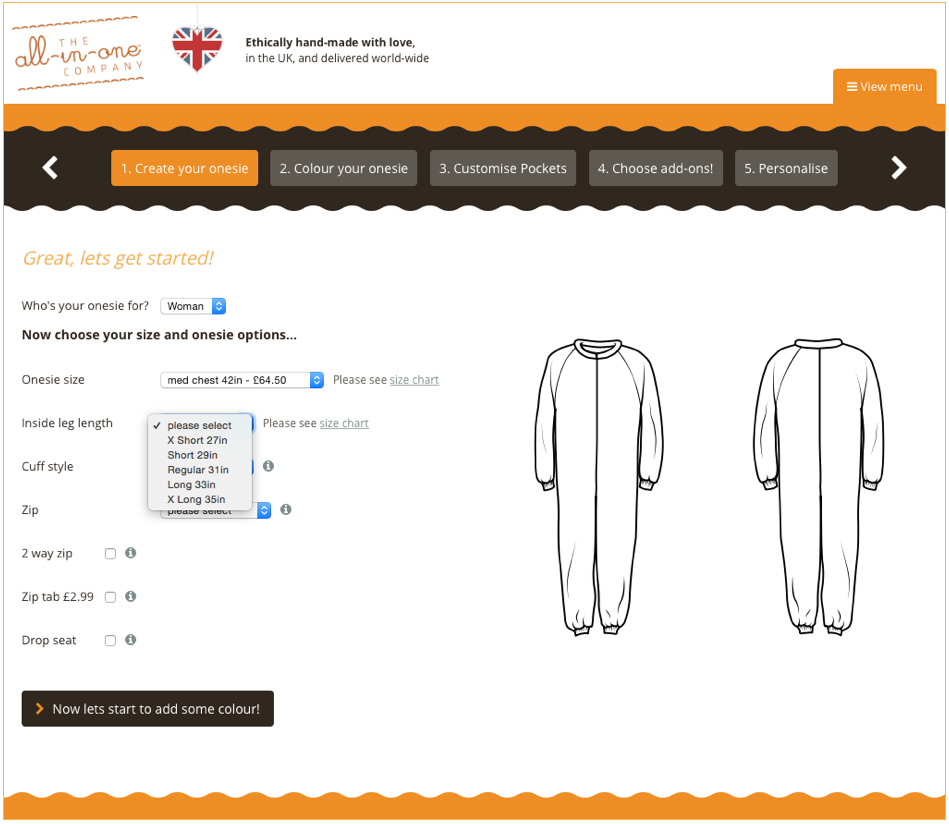
Step 4: Choose your Leg Length
The Leg Length can be altered if needed. If you want to let us know about your specific measurements, you can do do so in the Order Instructions Box at the checkout.
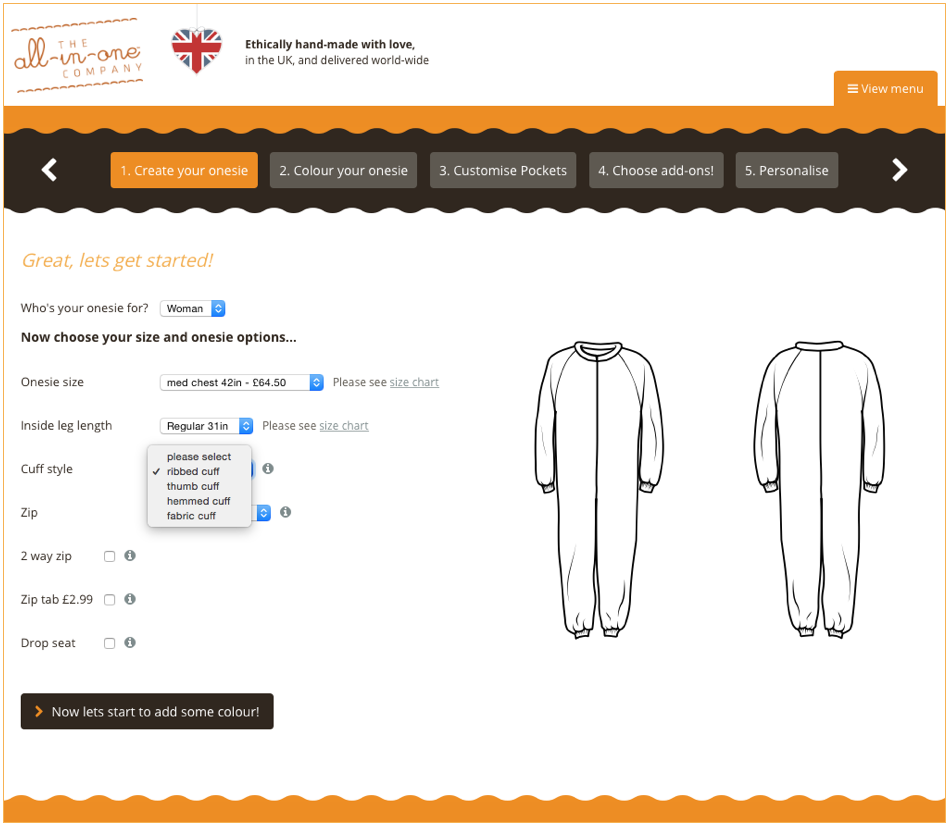
Step 5: Choose your Cuffing
We have 4 different cuff styles to choose from, Ribbed Cuffs, Thumb Cuff, Hemmed Cuff and Fleece Cuff.
*Top tip! As you go through the builder, you'll see little grey 'i' icons. You can click on them to see examples of the option choices *


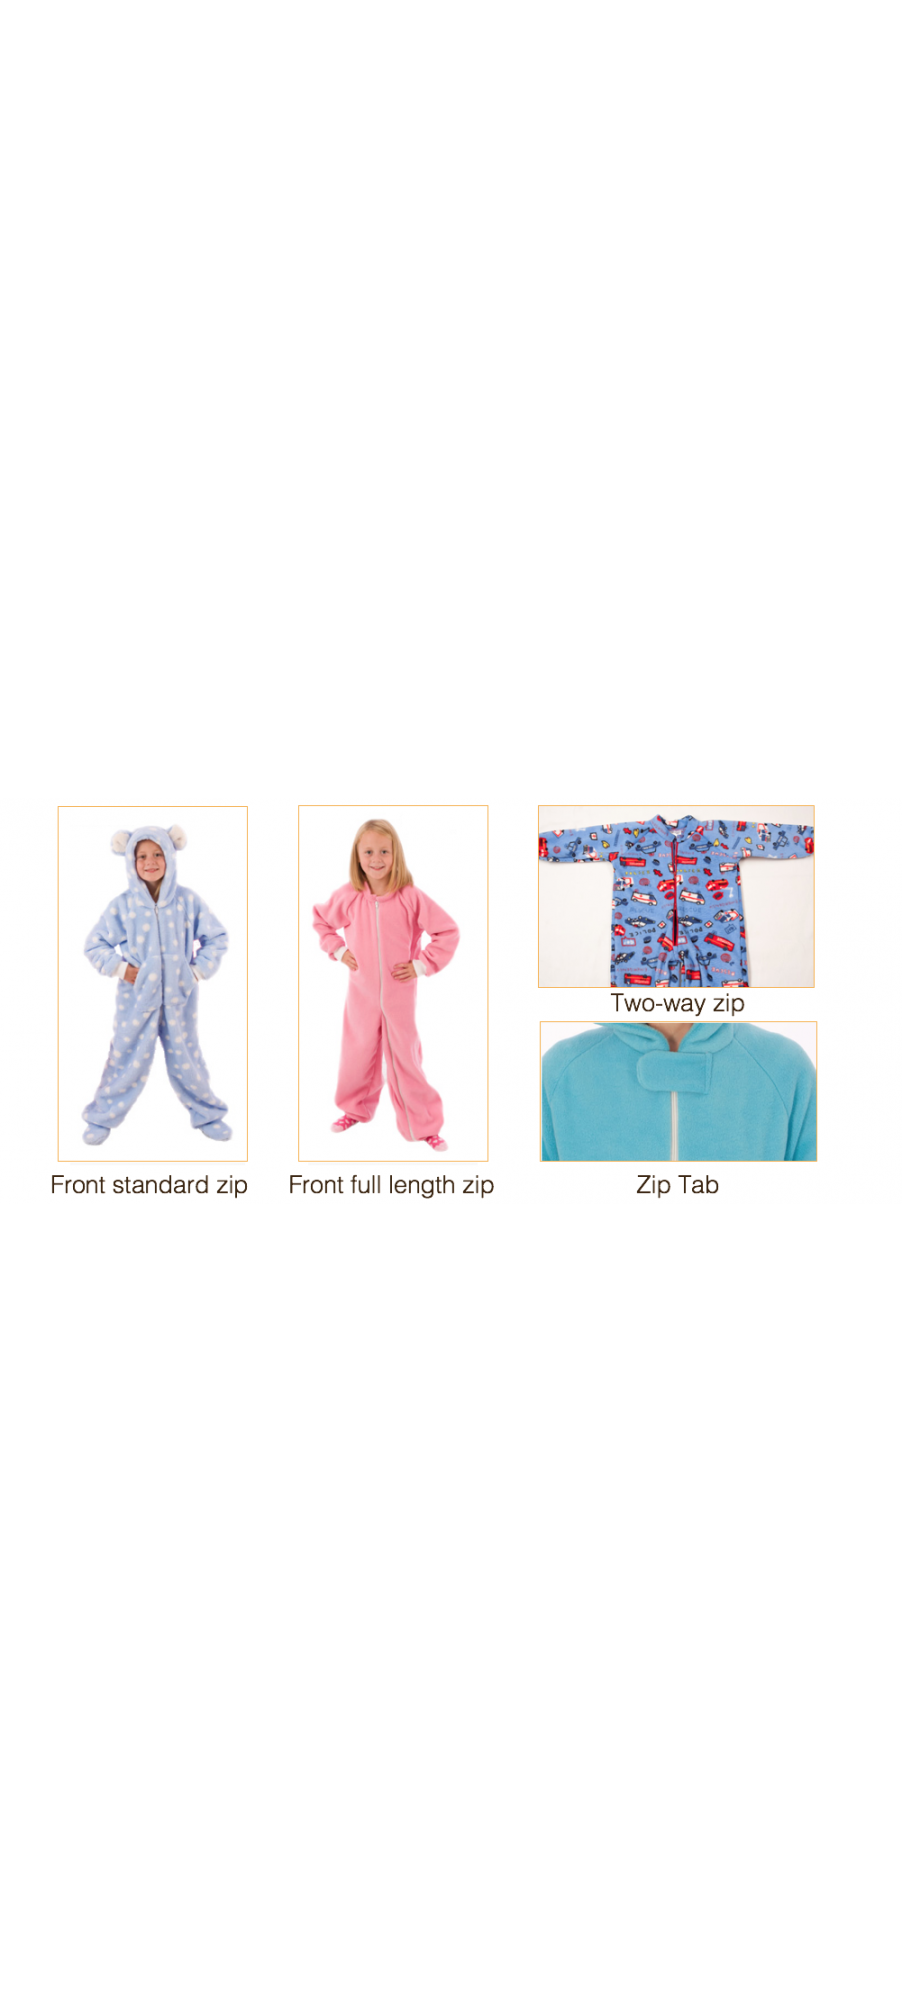
Step 6: Choose your Zip
You can choose between a standard, or full length zip. Both options are available for front and back zips.
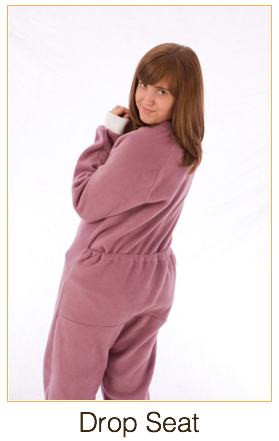
Step 7: Drop Seat
You then have the option to add a drop seat to your onesie. Our drop seat is a panel on the back of your onesie with an elasticated band that sits on your waist so you don't need to take your whole onesie off when going to the bathroom.
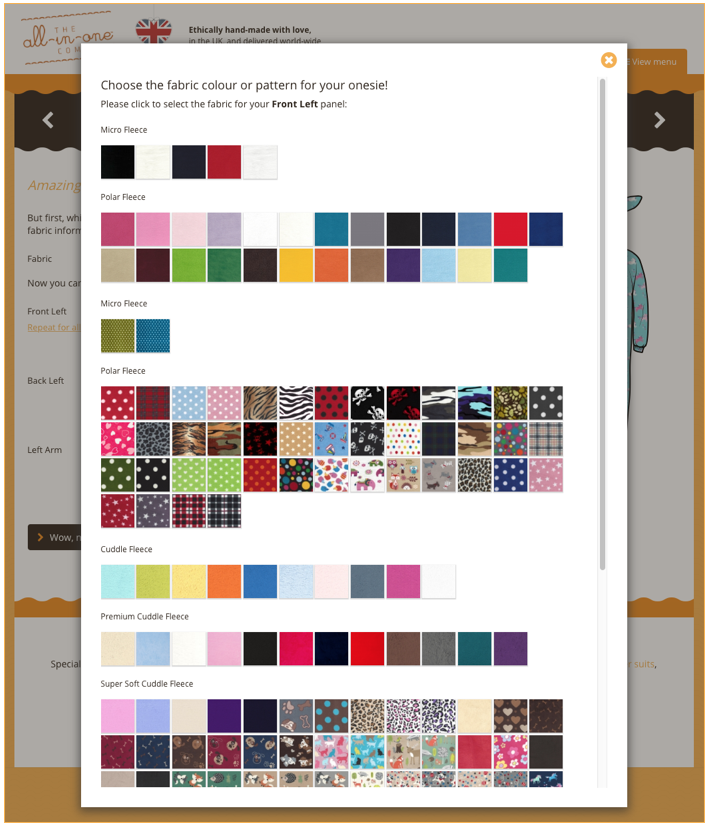
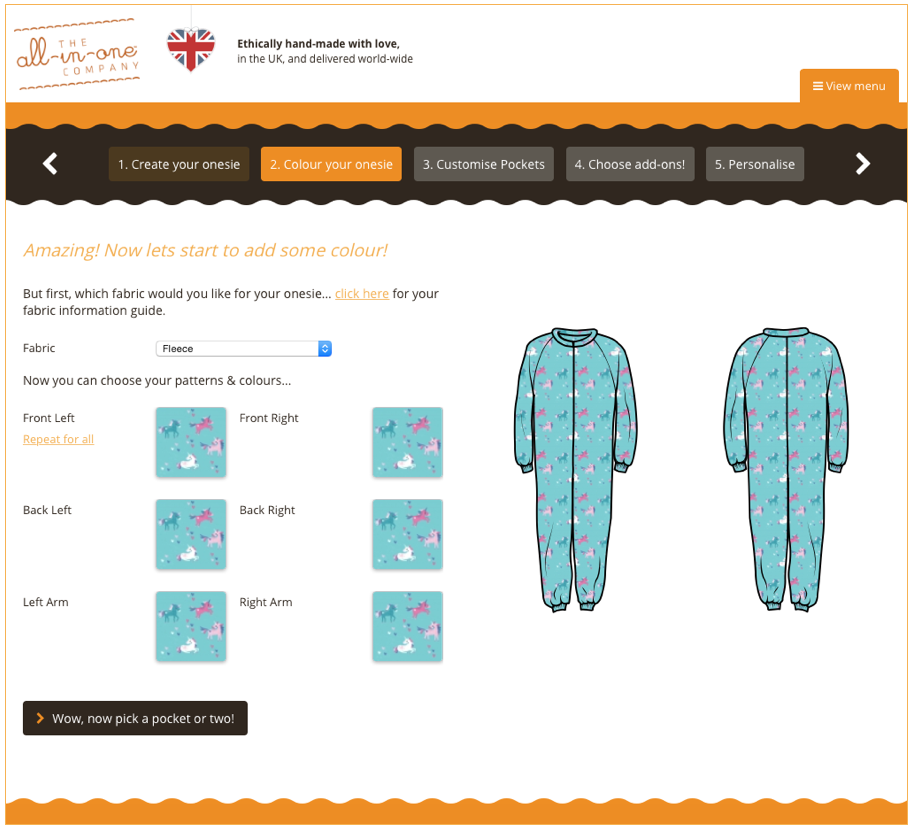
Step 8: Choose your Fabrics
This is where the real fun begins! You’re able to select the type of fabric you’d like your onesie to be. We have a range of fabrics in various thicknesses, so you’re sure to find a fabric to suit you, from Polar Fleece, Premium Cuddle Fleece, to Bamboo Towelling and Organic Cotton - to name but a few! For more information on our fabrics head to our Fabrics Page.
As you go through the different panels selecting your fabrics, you’ll see your onesie come to life! Mix and match different fabrics to create unique combinations – or you can stay stylishly sophisticated by choosing the same fabric for each panel – it’s totally up to you!
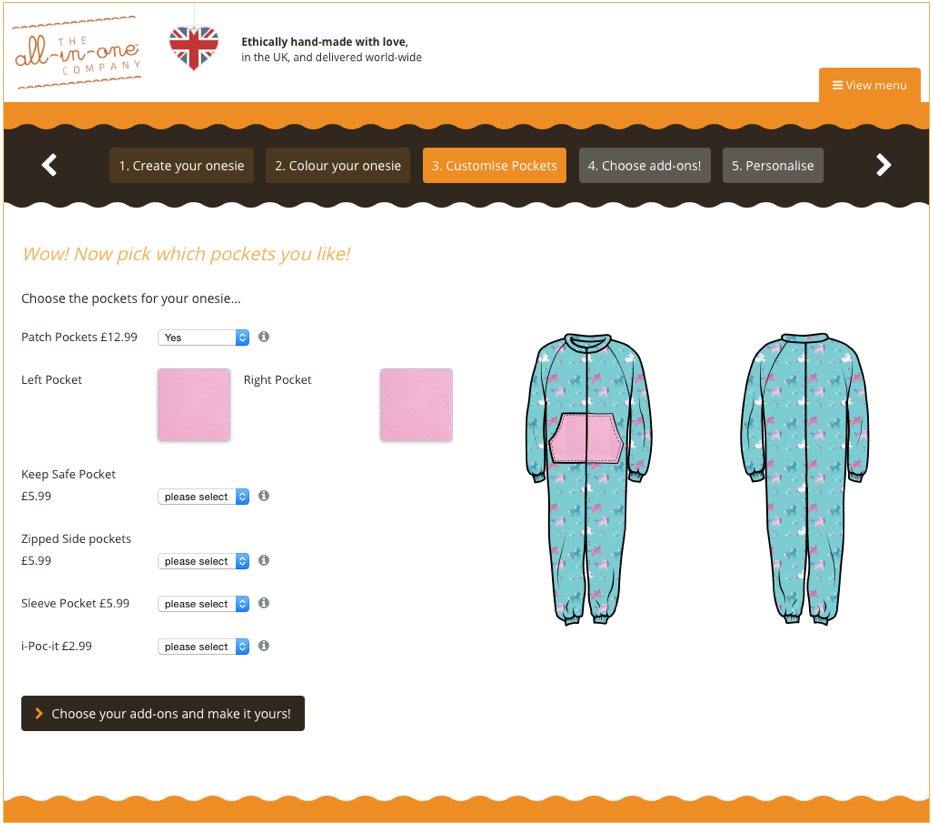
Step 9: Time to Pick a Pocket or Two!
Once you've chosen your We have a range of pockets to choose from – Front Pockets, Side Pockets, Keep Safe Pockets, Sleeve Pockets and an i-Poc-it. Again, all of our pockets are completely customisable.

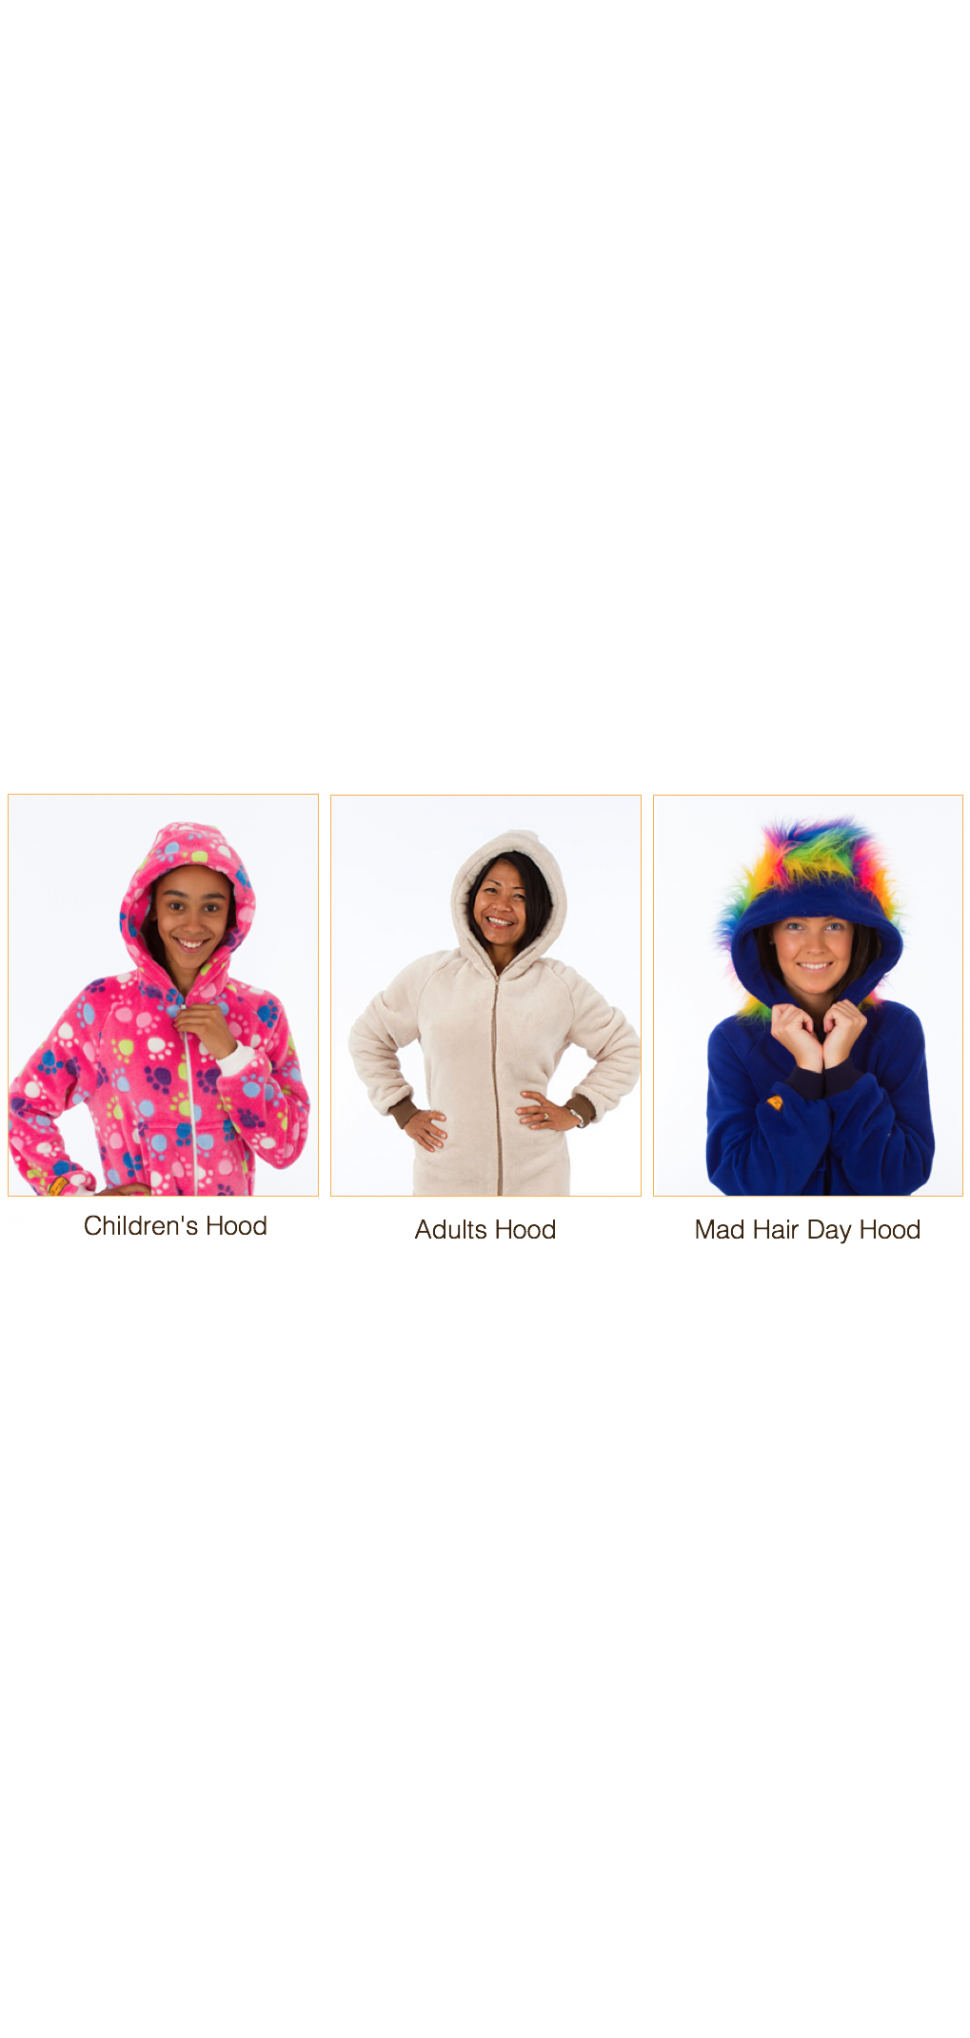
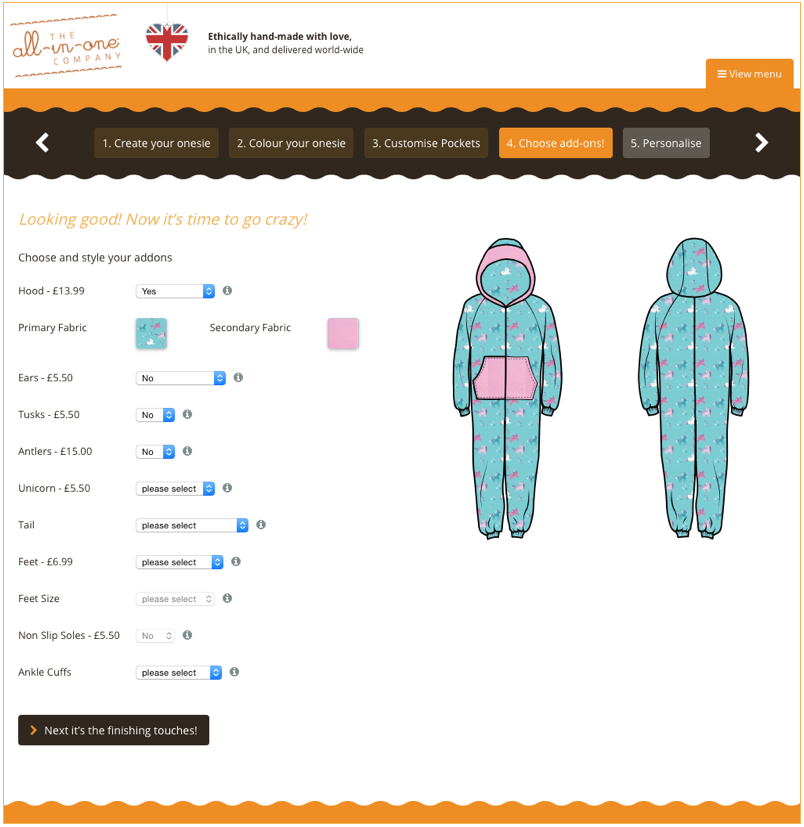
Step 10: Add your hood!
Add on’s can be mixed and matched to create totally unique designs! From hoods, ears, tails and feet, this is where your Unicorn Onesie really comes to life!
To start your Unicorn transformation, you'll first have to add a hood to your Onesie.
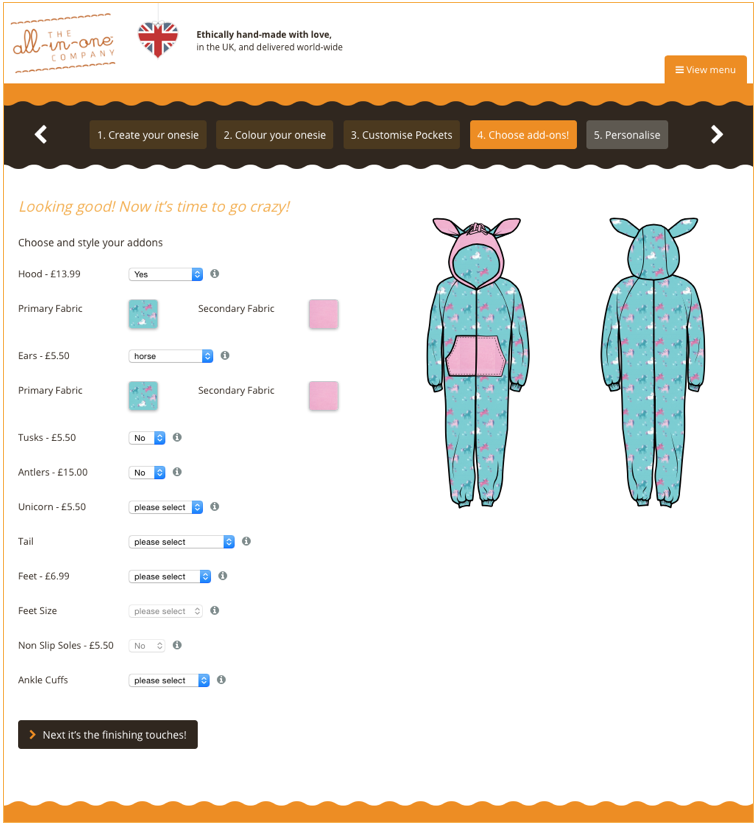
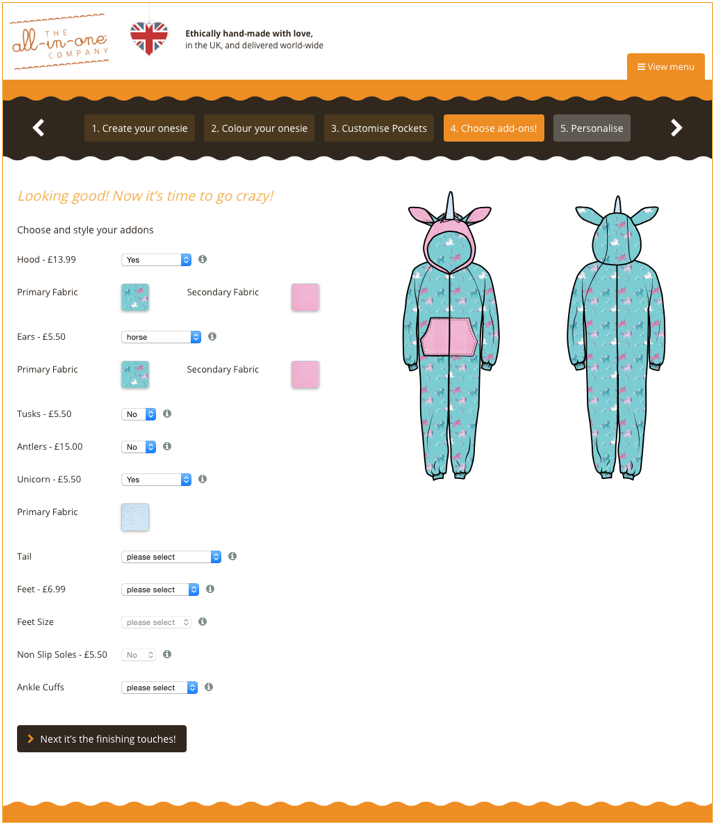
Step 11: Add your ears
Lions, Tigers, Bears, oh my! We have over 25 different ear’s to choose from, all designed and developed right here at The All-in-One Company

To create your Unicorn Onesie, select the Horse Ears from the drop down box. You can choose your outer and inner ear fabrics too!
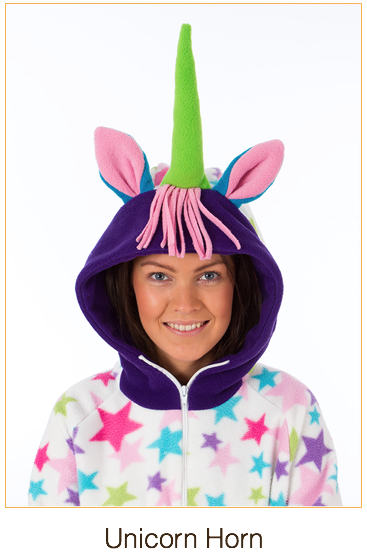
Step 12: Add your Unicorn Horn
No Unicorn is complete without a Unicorn Horn! You can choose to have your Unicorn Horn in any colour or pattern you'd like.
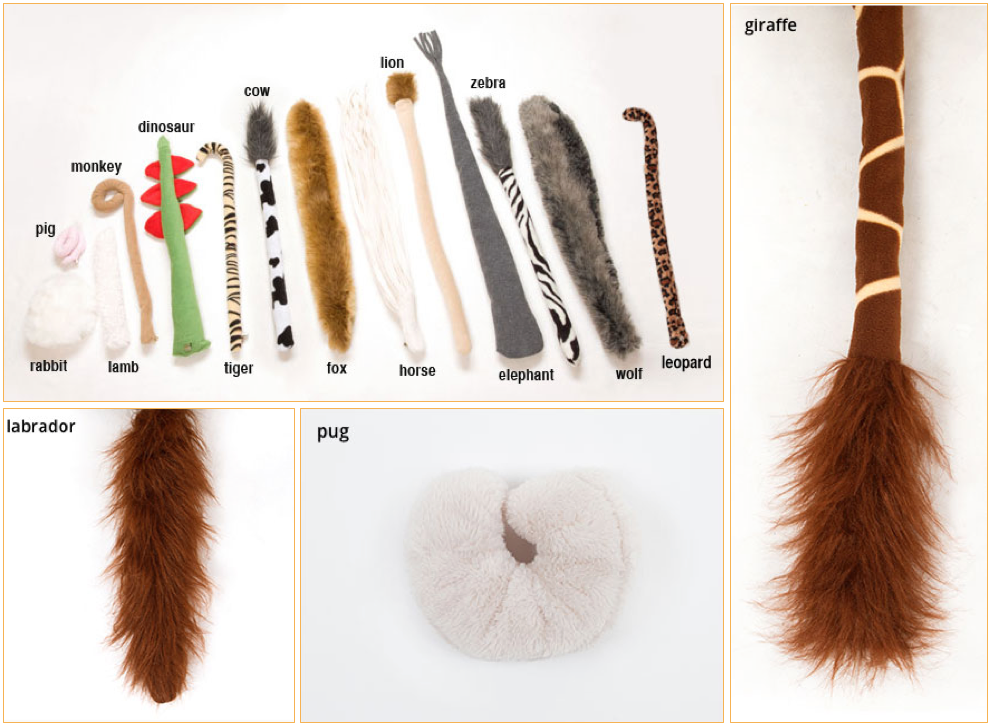
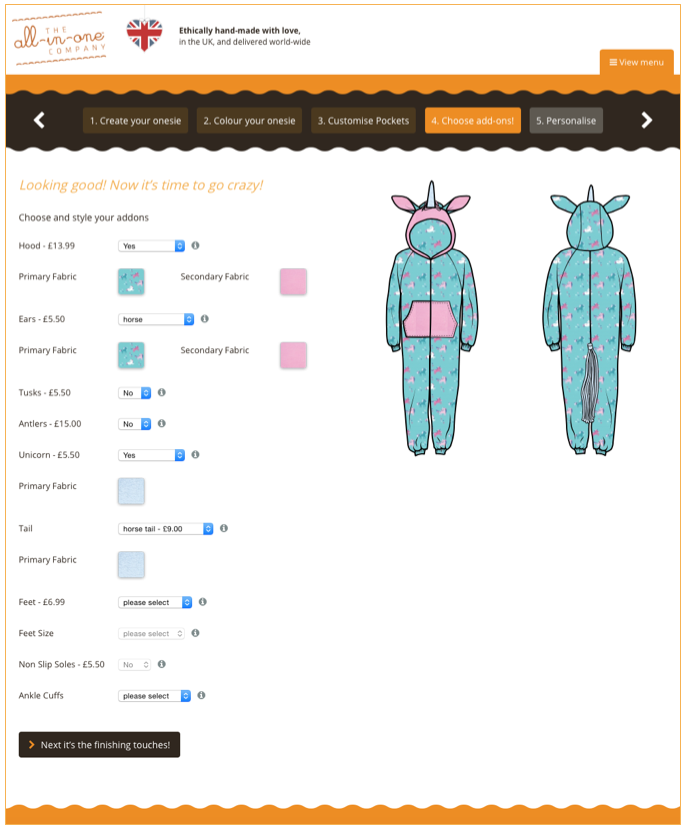
Step 13: Add your Tail
Now it's time to add your tail. Select the horse tail from the drop down menu to complete your Unicorn Onesie.
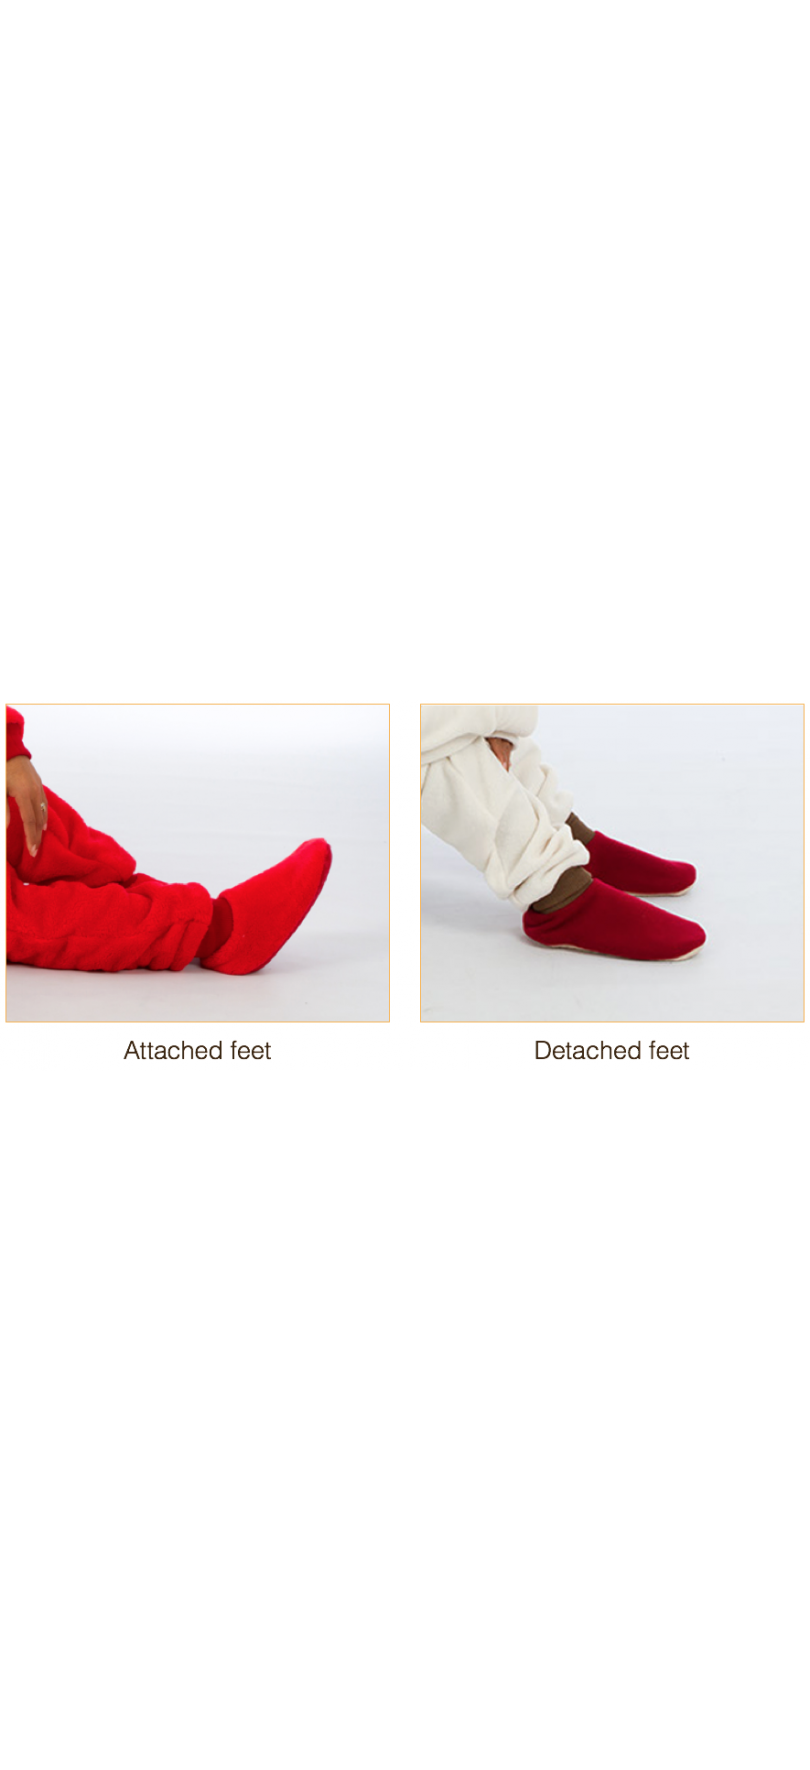
Step 14: Time for Feet
You can also choose to add feet added to your Unicorn Onesie. Whether you want attached feet, or detached feet (feet you can slip on and off, whether you’re wearing your onesie or not). Choose your fabrics, whether you’d like a matching pair, or two different coloured feet! You can also add non-slip soles! These are perfect for keeping you grounded when on slippery surfaces.
Step 15: Ankle Cuffing
There are 3 different styles of ankle cuffing to choose from, Ribbed Cuff, Hemmed Cuff and Fabric Cuff. If attached feet have been chosen, your Onesie will get ribbed cuffing.

Step 16: Embroidery
You can take personalisation one step further by adding embroidery to your Unicorn Onesie.
You can add a name, message or image. You’re able to pick your colours and fonts to compliment your onesie.


Step 17: Time to Checkout
Now that you're finished creating your Unicorn Onesie, it's time to checkout.
Our fabulous team of Master Craftsmen will then begin hand making your bespoke Unicorn Onesie.